Custom materials
With Tivoli, you can manually specify the properties of your materials. There are two different ways to do this.
- Write an .fst file where the model and materials are specified (recommended)
- Parent a material entity to a model in world (not recommended)
- Each materials will require another material entity.
- It's really inconvenient unless you're scripting.
Writing an .fst file
Locate your 3D model and write a new .fst file next to it.
Open the .fst file in a text editor and with your model's filename:
filename = my-model.glb
materialMap = {"all":{"materials":{"unlit":true,"defaultFallthrough":true}}}
The materialMap specifies which materials to override. In this case it will keep the materials unchanged with defaultFallthrough but add unlit to all of them.
Open Tivoli and add a new model with the URL pointing to my-model.fst and you should see your model unlit!
Materials specification
Here's an example of a materialMap json that applies different materials.
{
    "all": {
        "material": {
            "defaultFallthrough": true,
            "unlit": true
        }
    },
    "mat::Head": {
        "materials": {
            "emissive": [1, 0, 0]
        }
    },
    "mat::Body": {
        "materials": {
            "defaultFallthrough": true,
            "opacity": 0.5
        }
    }
}
- All materials will stay the same but now be unlit
- The
Headmaterial will be replaced with just red emissive - The
Bodymaterial will stay the same but now be 50% visible
Hopefully that explains how to map materials with new properties. Here's the specification of every single property available:
https://apidocs.tivolicloud.com/Graphics.html#.Material
You will need to minify the json when adding it to materialMap. This website will let you minify and beautify json:
https://beautifyjson.org and https://minifyjson.org
Parenting a material entity
This isn't as recommended as writing an .fst file but here's how it works.
Open Tivoli and in-world:
- Add a new model entity with your 3D model
- Add a new material entity with url
materialData
You'll want to copy the model entity's ID:
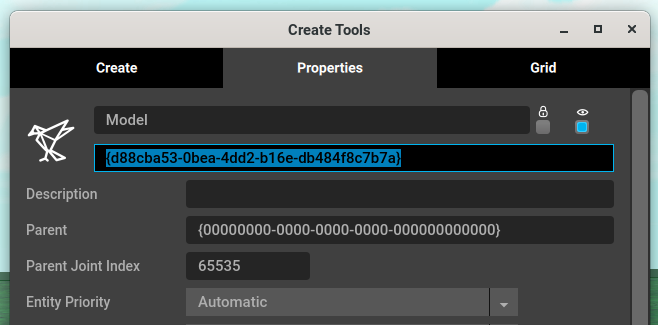
Then paste it as the parent in the material entity:
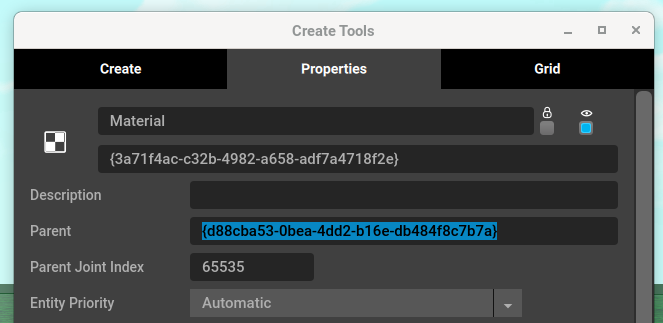
Your model should now have all the default material settings without any textures or colors.
In the material entity scroll down till you find material properties:
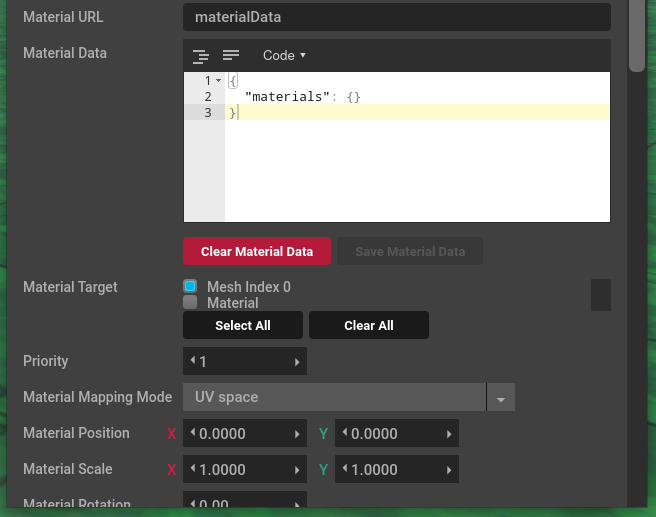
This is where you can set your material data and which material it should target.